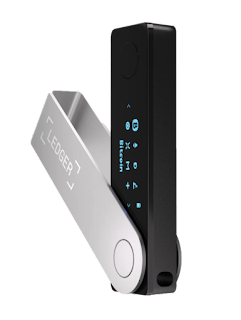
 Ledger Nano X
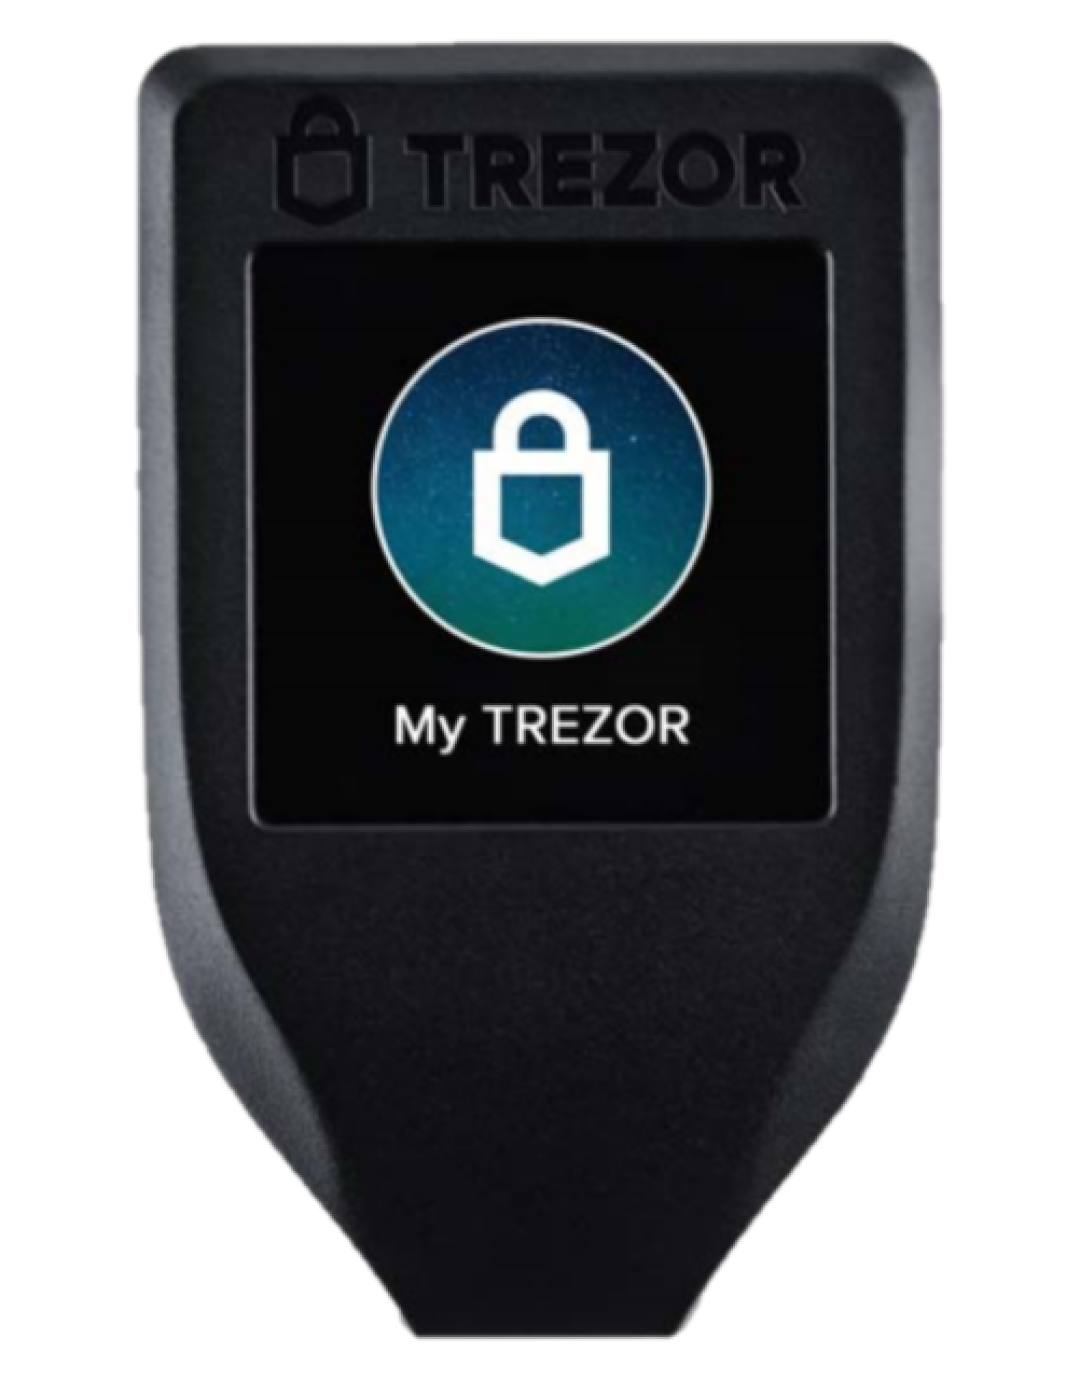
 Trezor Model T
Today I am going to show you how to send ERC20 tokens to Trezor Model T or Trezor One. If you have a Trezor hardware wallet and you would like to store ERC20 tokens in your hardware wallet then today you can learn the right way.
Storing ERC20 tokens in Trezor wallets is somewhat tricky but it is not that difficult. When I will tell you the process of storing ERC20 token in Trezor wallet then you would find that it was super easy.
Also, I would like to tell you that in the coming months storing ERC20 tokens in Trezor wallet will be more easy because Trezor team is working hard to upgrade their app and once it is updated all the ERC20 tokens would be directly accessible from the official app.
As of now, you have to follow this process once the app is updated you would not need to follow this. Till then you can follow the instructions given in this post.
Once the app is updated all the ERC20 tokens would be directly accessible from the app.
In future, I am expecting that they would add all ERC20 tokens in their app just like in BC Vault review I told you that all the supported coins are directly accessible from their app. I think Trezor team is also working to do the same in future.
As of now, you can follow the steps given in this post to store ERC20 tokens including Shiba Inu in Trezor hardware wallet.
Let's know how to send ERC20 tokens to Trezor wallet!
For your information whether you have Trezor Model T or One, the steps are same. So both hardware wallet owners can follow the given steps given to cold store their tokens.
Very very important points before you reset Trezor wallet:
- To send ERC20 tokens to your hardware wallet, you need to send those tokens to the Ethereum address. Yes, you read it right. You need to send the tokens to Trezor Ethereum address and those tokens will be added to your Trezor Suite app.
- Process described here is same for all ERC20 tokens.
- When you are sending ERC20 tokens from an exchange, you need to make sure that you have selected ERC20 network. You don't need to select other networks like BNB network. This is very important that is why I'm telling you.
- Fee will be high because you will be paying it in Ethereum not in concerned token.
- I have highlighted each and everything in detail, however, for safety you can first send small amount to verify the process. As I told you fee is high so it would not be wise.
How to Send ERC20 Tokens to Trezor Suite
Here are the steps to store ERC20 tokens to Trezor Suite app:
Get access to your Trezor suite app. In my recent video, I told you how to set up Trezor Suite app. If you have not set up the app yet then you can watch that video. After that you can come back here. In other case, if you already have installed the Trezor Suite app then just open the app and go to your Ethereum app.
Just in case, you have not installed Ethereum. Click on + plus icon and click on Ethereum app and add an account.
After adding the account, you will find Ethereum in the accounts section.
Click on the Ethereum wallet address will open. So this was the first step in second step what we need to do? We need to go to the place I mean exchange where we are storing ERC20 tokens.
In my case, I am my ERC20 tokens Shiba Inu are on Binance so I am going to login to Binance exchange. Whatever your exchange is the steps are same.
Note: Whatever ERC20 token you would like to send to Trezor Model T or One, steps are same. I am going to show you how to store Shiba Inu on Trezor wallet. But you can follow the steps to store any ERC20 token.
I am repeating, although I am showing you how to store Shiba Inu but the steps are same for all ERC20 tokens.
All you need to do just log in to your Trezor Suite app and then go to the exchange where you are storing ERC20 tokens.
Now let me show you the next steps. Now from Binance app, I need click on Wallets.
After going to the Wallets section, go to Spot and to move Shiba Inu to Trezor One, tap on Shiba Inu token and then Withdrawal.
Tap on Send via Crypto Network.
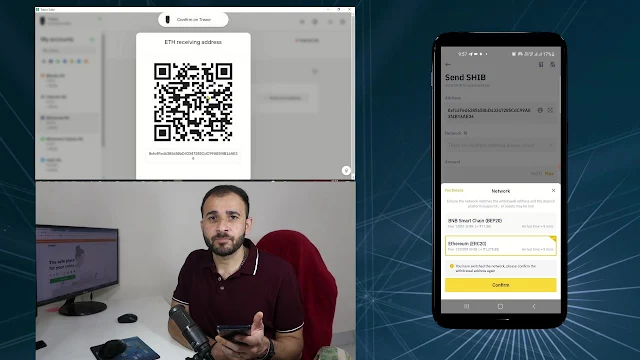
Go back to your Trezor Suite app and open Ethereum app and copy Ethereum address by clicking Receive option.
Paste the copied Trezor Ethereum address in your Binance app or alternatively you can scan the QR code.
As mentioned above, I have two options either I can paste ETH address showing on the screen or I can scan the QR code. Since I have opened Binance mobile app therefore it would be better to scan the QR code.
So I am going to open the QR code scanner and I have copied the address. I have verified the address is same.
Now select Ethereum network ERC20, it is very important or you may not receive the tokens.
Next enter the amount of tokens you would like to send to Trezor Wallet or you can simply tap on Max to send all the amount available in your wallet.
Confirm the transaction and hit proceed button.
Thereafter, you will be asked to verify the transaction by providing the high security password sent to your email address. Enter the OTP and verify the transaction.
That's it. Within few minutes to 24 hours, you will receive ERC20 tokens on Trezor One or Model T.
Just wait patiently.
This all you need to do to receive ERC20 tokens to Trezor Suite app. I hope you learned the process.
By following the instructions given here, you can store any ERC20 network token in your hardware wallet.
Also in some YouTube videos, you would have seen people mentioning that to store the token first you need to add the token and their network address. For your knowledge, you don't need to do that things.
All you need to do I showed you live. Some exchanges may ask you to enter the network in that case you can simply click on Ethereum address and then add tokens. But what I know, you don't need to do that.
For detailed instructions I would suggest you watch the video carefully.

Comments
Post a Comment
Have a question? Just ask in comment box, we're always here to help you.